Advanced Options Window
The Advanced Options Window is where you configure additional EZDetach settings. Options defined here apply to all invocations of EZDetach, whether you run it manually, using the toolbar button, or automatically via AutoSave, Scheduler or Outlook Rules.
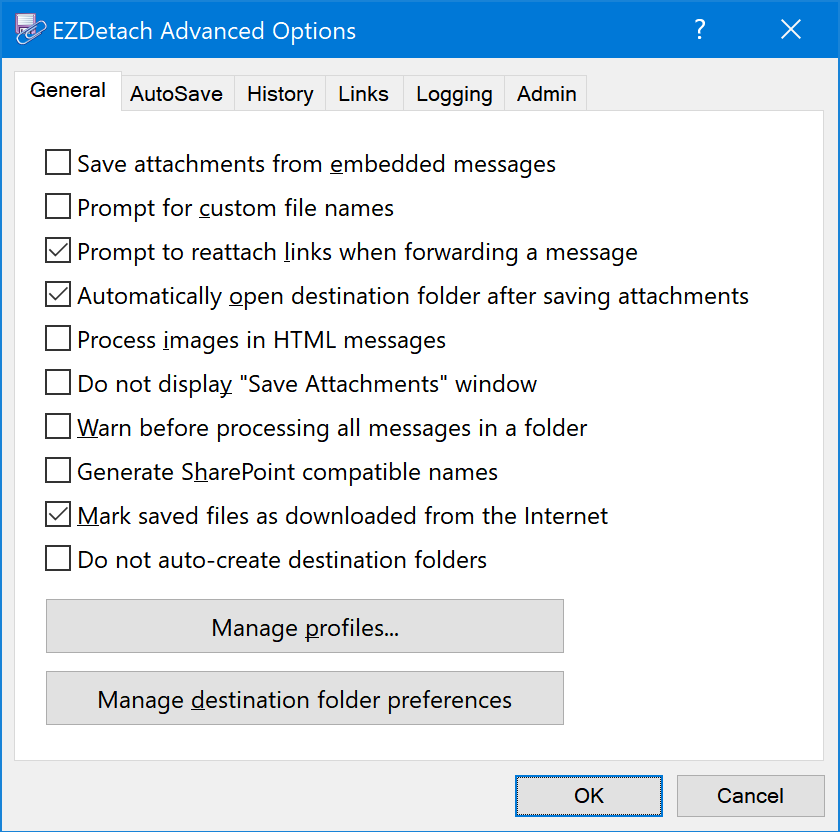
General Tab
-
Save Attachments From Embedded Messages¶ “Embedded messages” are messages which are attached to other messages. Embedded messages may contain their own attachments. Enable this option if you would like EZDetach to process them.
-
Prompt For Custom File Name¶ Enable this option to have EZDetach prompt you to provide a custom name whenever you save an attachment manually.
-
Prompt To Reattach Links When Forwarding A Message¶ If checked, EZDetach will ask you whether you would like to automatically reattach detached files when forwarding a message which contains links created by EZDetach. If this option is not checked, EZDetach will not reattach detached links when forwarding a message.
-
Automatically Open Destination Folder After Saving Attachments¶ Open the Destination Folder in Windows Explorer after attachments are saved.
-
Process Images In HTML Messages¶ Save embedded inline images from messages in HTML format.
Tip
If you are seeing many small images from email signatures saved, you can disable this option to prevent that.
-
Do Not Display Save Attachments Window¶ Enable this option to have EZDetach save email attachments without displaying the Save Attachments Window. Please note that this option is only supported when you select Use Most Recent Folder destination folder preference.
-
Warn Before Processing All Messages In A Folder¶ Enable this option to have EZDetach prompt you before saving messages with the All Messages In Current Folder option. This is intended to help you prevent accidentally saving all attachments in a folder instead of only the ones from messages you have highlighted (Selected Messages).
Enable this option if you are saving attachments directly to a mapped SharePoint drive.
-
Mark Saved Files As Downloaded From The Internet¶ Set “Mark of the web” on the saved files. This option provides additional security. For example, Microsoft Office opens files with this mark in Protected Mode.
To remove the mark from an existing file:
- Right click on the file in Windows Explorer.
- Select “Properties”.
- Check the “Unblock” checkbox.
- Click “OK”.
-
Do Not AutoCreate Destination Folders¶ Enable this option to prevent EZDetach from silently creating destination folders when they do not exist.
If a required destination folder does not exist:
- When saving messages manually, EZDetach will prompt you whether you would like to create the folder.
- When running via the Scheduler or AutoSave, EZDetach will skip messages if saving them required creating a new folder which does not already exist.
-
Manage Profiles¶ Opens the Manage Profiles Window.
-
Manage Destination Folder Preferences¶ Opens the Destination Preferences Window.
AutoSave Tab
Here you can map Outlook folders to destination folders and have EZDetach run automatically to save new attachments from the mapped folders
See also

-
Configure Scheduled Folders¶ This button opens the Mapped Folders Window where you can specify which folders you would like to have processed by the Scheduler.
-
Configure EZDetach Schedule¶ Specify at what times you would like to have the Scheduler run.
-
Run Now¶ Run the Scheduler manually.
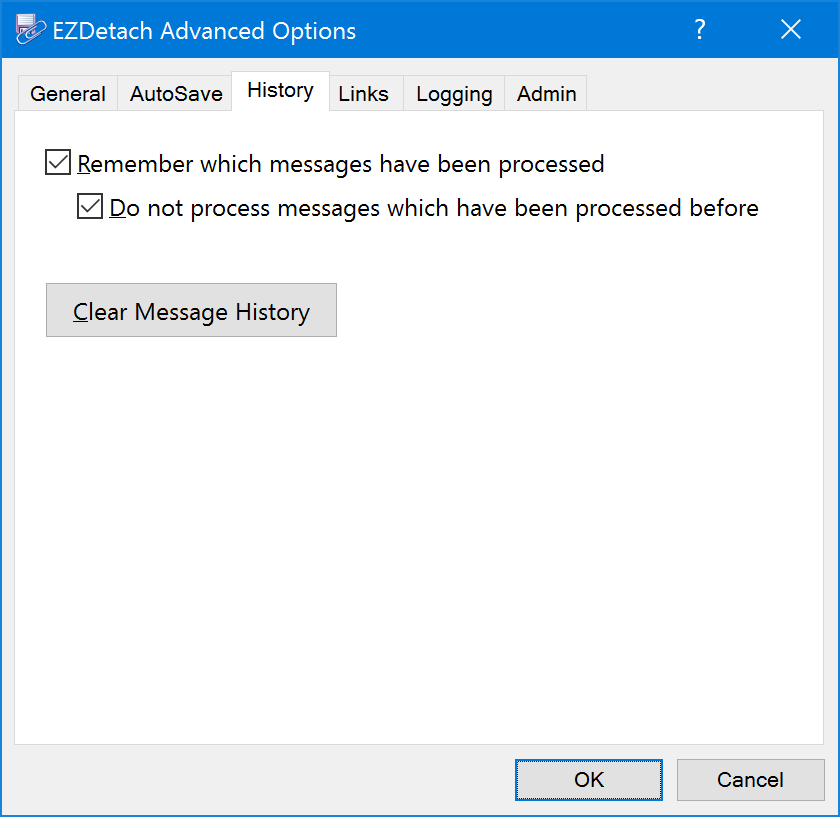
History Tab
-
Remember Which Messages Have Been Processed¶ Enable this option to have EZDetach keep track of which messages you have processed already.
-
Do Not Process Messages Which Have Been Processed Before¶ Skip messages which have been processed previously. This option allows you to run EZDetach periodically on an entire folder (or entire mailbox) without worrying about saving duplicate attachments.
Tip
We recommend enabling this option whenever you use the Scheduler.
Note
The two history options above do not apply to the Remove Attachments command.
-
Clear Message History¶ Reset the history of processed messages. If you clear history and re-run EZDetach on the messages from which you have saved attachments previously, they will be saved again.
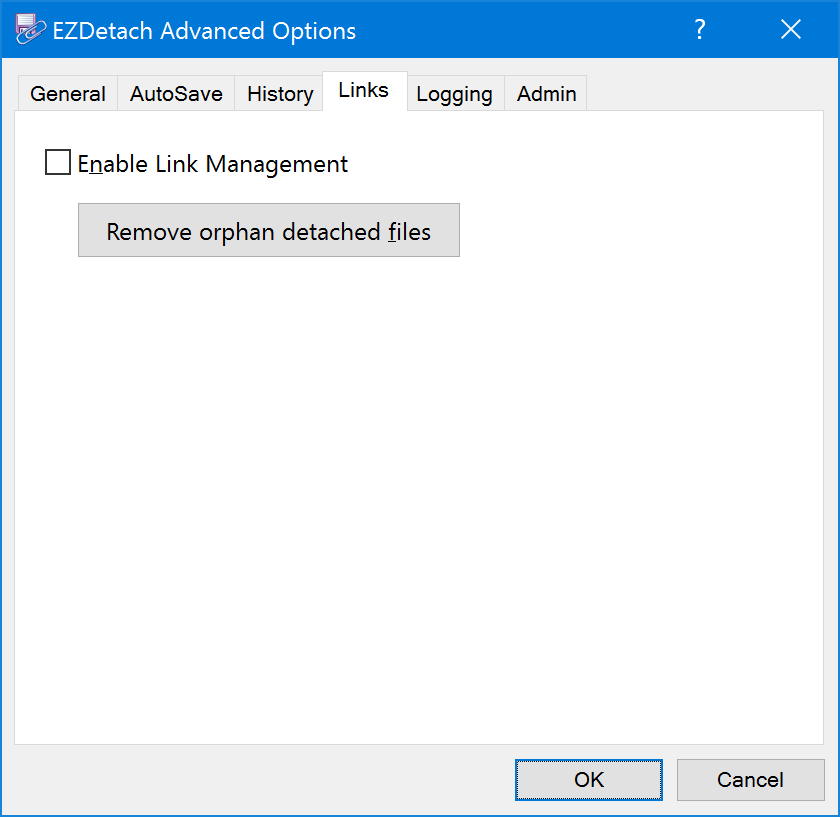
Links Tab
-
Enable Link Management¶ This option is required by “Remove orphan detached files” functionality, see below.
-
Remove Orphan Detached Files¶ Removed detached linked attachments which had messages linking to them permanently deleted. It is important to note that detached files are removed only when the corresponding messages are deleted permanently, not when they are moved to the deleted items folder. EZDetach will prompt you to confirm deletion of every file.
Logging Tab
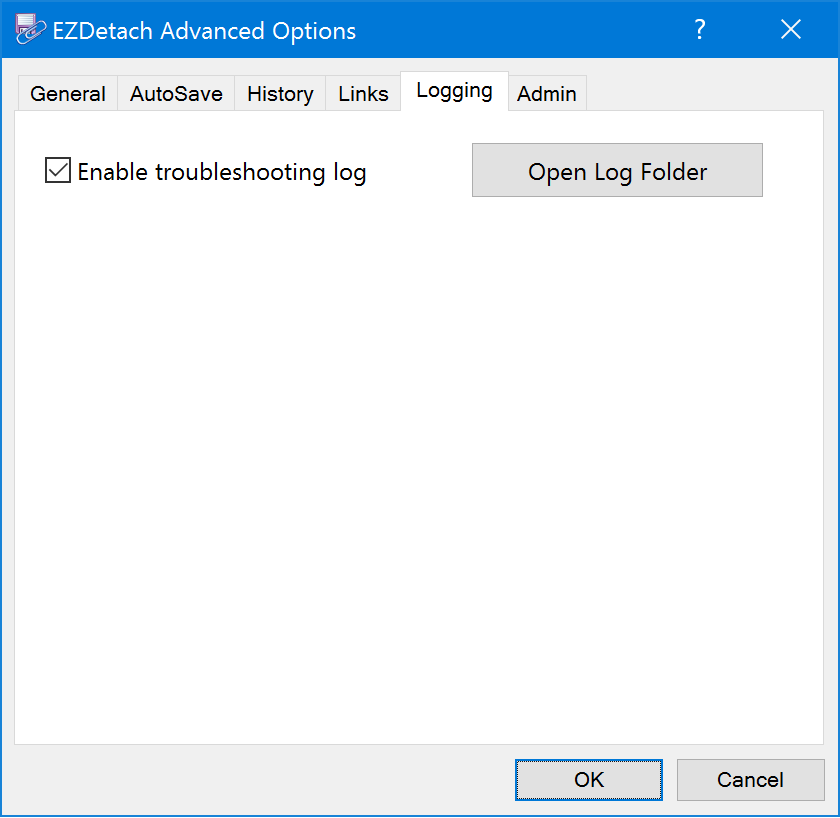
Troubleshooting Log
Our support team might ask you to use EZDetach with the Troubleshooting Log enabled, then zip and email the log file to us if we are working with you to troubleshoot an issue you might be experiencing.
Tip
Remember to zip a log file before sending it to us to make it smaller.
-
Enable Troubleshooting Log¶ Enable EZDetach diagnostics log.
-
Open Log Folder¶ Show the log troubleshooting log file in a folder.
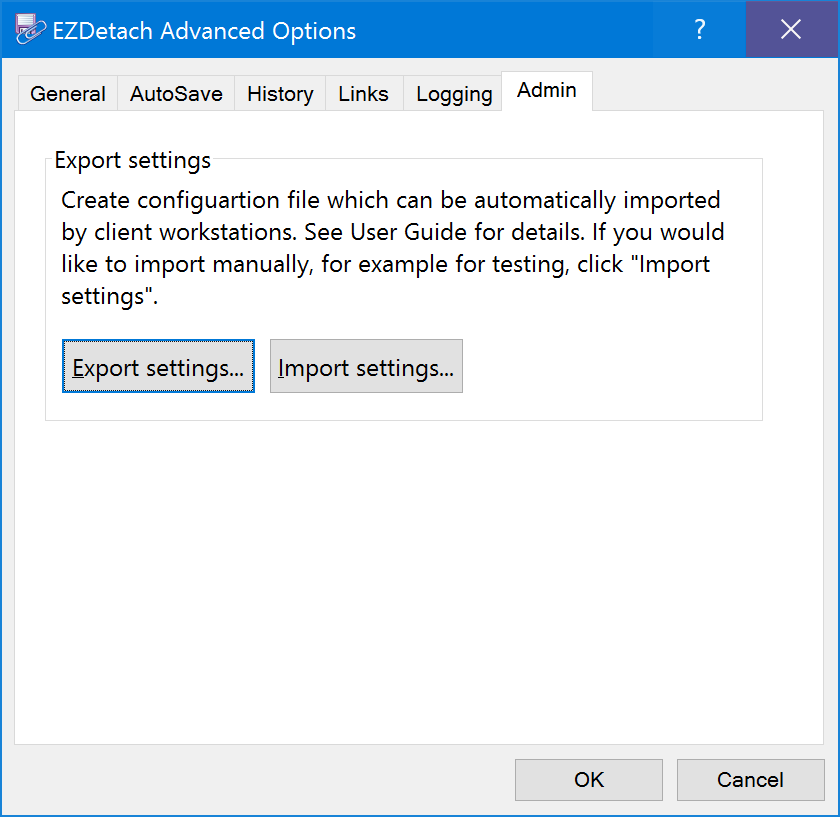
Admin Tab
Export/Import EZDetach configuration. System administrators can configure EZDetach on one workstation and automatically deploy that configuration to the entire company.